Location Based 3
Location Based 샘플코드 만들기
debug 모드 활성화
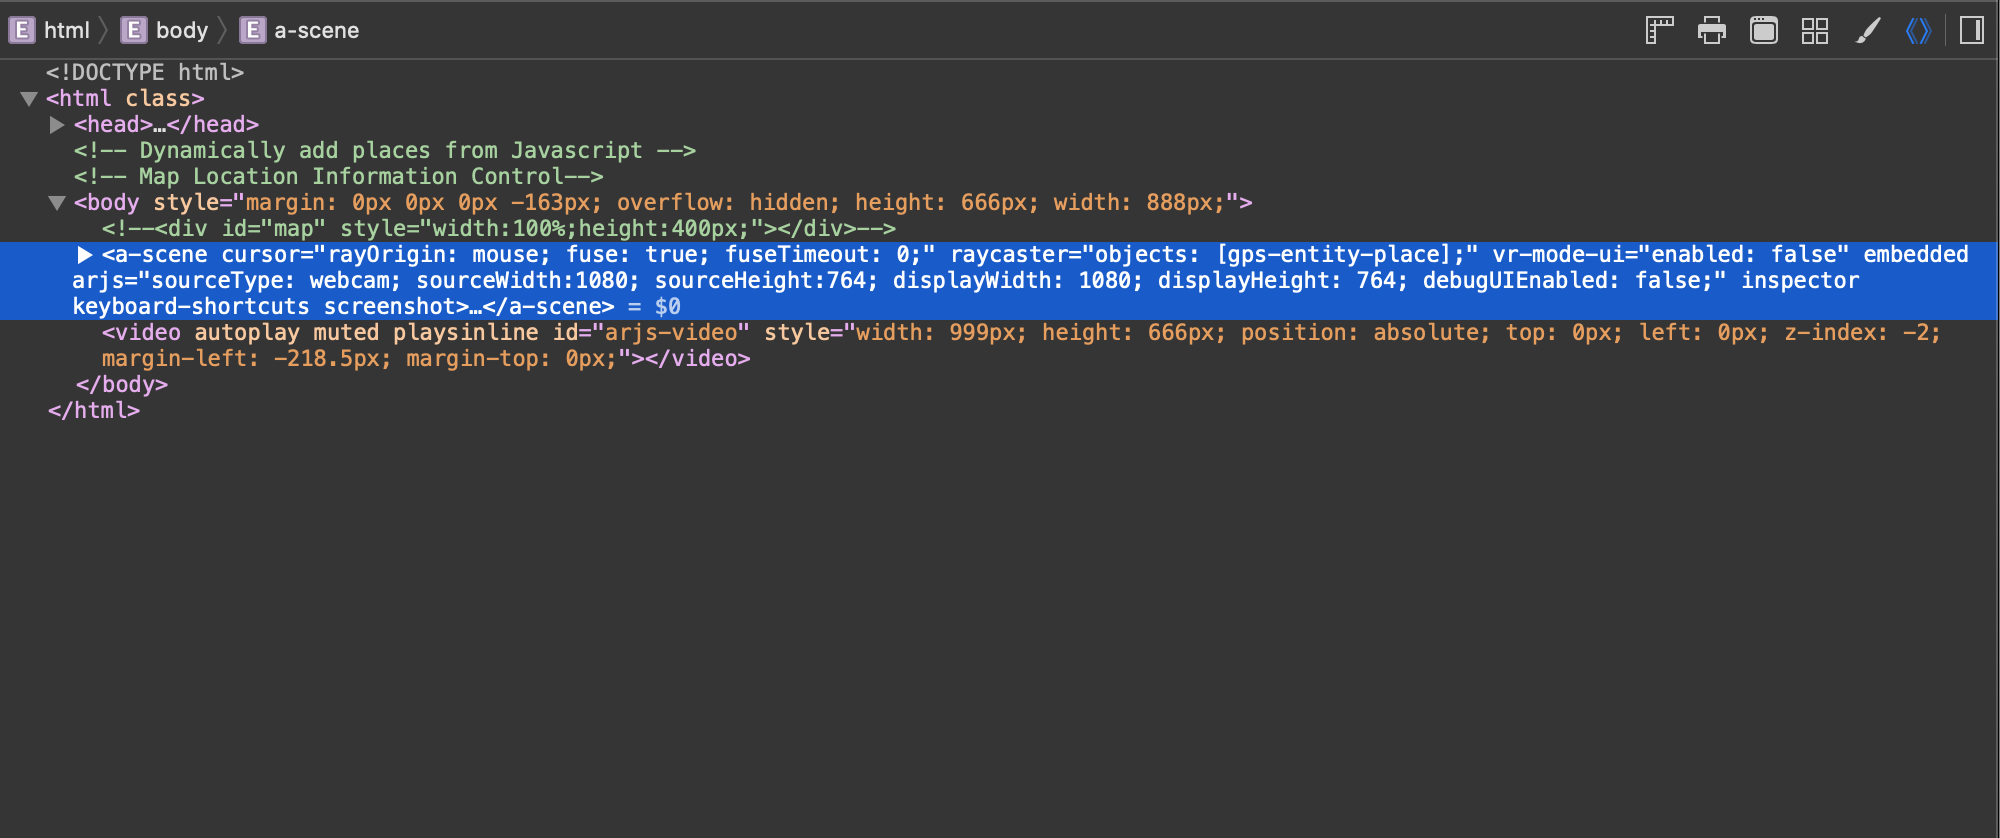
A-Frame 기반의 DOM 컴포넌트들은 기본적으로 값을 표시하지 않습니다. 그래서 브라우저 inspector로 봐도 값을 알수가 없습니다.
아래 형태로만 보이게 됩니다.
<a-entity geometry material position rotation></a-entity>
각 컴포넌트들은 position=”1 2 3” 처럼 HTML 에서 정의하지 않고 동적으로 입력한다면 메모리에만 남게됩니다.
따라서 개발을 위해서는 Debug 모드를 활성화 해야하는데 코드는 간단합니다.
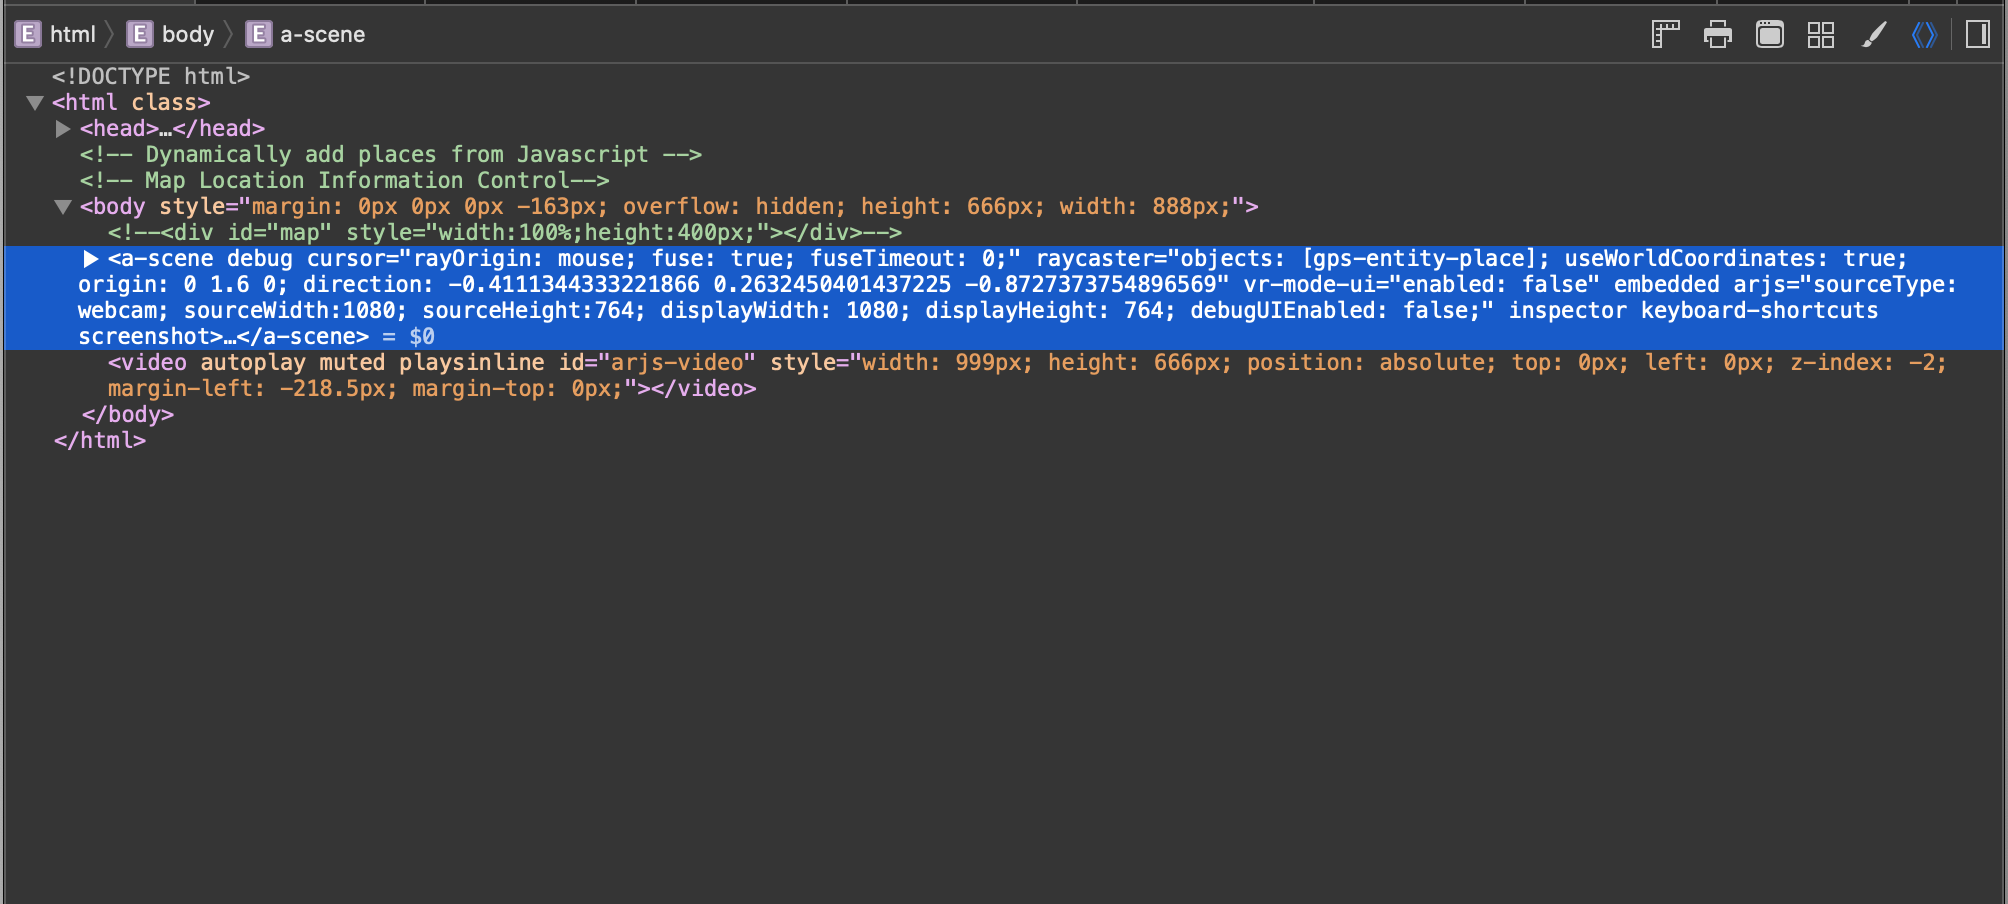
A-Frame 루트인 a-scene 객체에 debug 속성을 부여하면 됩니다.
<a-scene debug></a-scene>
debug 속성값 부여 전

debug 속성값 부여 후

자세한 내용은 A-Frame 에서 확인 가능합니다.
gps-entity-place 추가하기
ar.js 에서 제공하는 샘플 코드를 이용하여 place 객체를 추가합니다.
place 오브젝트의 필수속성은 위도, 경도며 필요에 따라 값을 추가해주시면 됩니다.
const loadPlaces = function () {
    const PLACES = [
        {
            name: "",
            location: {
                lat: 37,
                lng: 127
            },
        },
    ];
    return Promise.resolve(PLACES);
}
loadPlaces()
    .then((places) => {
        places.forEach((place) => {
            //place control 코드 작성
        });
    })
}
전체코드
<script>
// Place Object 저장 배열 생성
const loadPlaces = function () {
    const PLACES = [
          {
              name: "GS25",
              location: {
                  lat: 37.4996228,
                  lng: 127.0948930,
              },
          }
    ];
    return Promise.resolve(PLACES);
}

// Place Object 추가
window.onload = () => {
    const scene = document.querySelector('a-scene');
    return navigator.geolocation.getCurrentPosition(function (position) {
        console.log("현재 내위치는 : " +position.coords.latitude+", 경도: " + position.coords.longitude + "에 있습니다");
        loadPlaces()
            .then((places) => {
                places.forEach((place) => {
                    const latitude = place.location.lat;
                    const longitude = place.location.lng;

                    const icon = document.createElement('a-image');
                    icon.setAttribute('gps-entity-place', `latitude: ${latitude}; longitude: ${longitude}`);
                    icon.setAttribute('src', '/img/map-marker.png');
                    icon.setAttribute('scale', '10, 10');
                    scene.appendChild(icon);
                });
            })
        },
        (err) => console.error('Error in retrieving position', err),
        {
            enableHighAccuracy: true,
            maximumAge: 0,
            timeout: 27000,
        }
    );
};
</script>

Leave a comment